Setting Up a Dependable Shelter in the Woods

You will learn how to select a site, gather materials, and construct a basic debris shelter for protection against the elements.
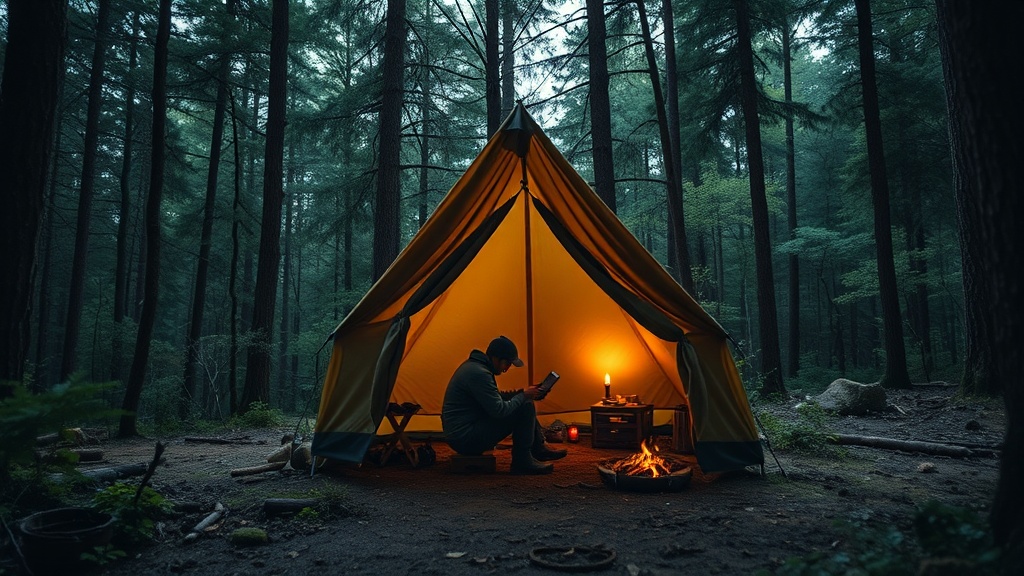
Finding a dry, safe spot to stay overnight is a fundamental skill for anyone spending time in the backcountry. Whether you're caught in an unexpected overnight situation or just practicing wilderness survival, knowing how to build a shelter from what's around you keeps you warm and dry. This guide covers the mechanics of the debris shelter—a primitive structure that relies on insulation rather than heavy-duty gear.
A shelter's primary job isn't just to keep rain off your head; it's to trap your body heat. In the woods, the ground is a heat sink. If you sleep directly on the earth, it will pull the warmth right out of you. This is why the construction process starts with the ground as much as the walls. You'll need a thick layer of organic material—leaves, pine needles, or even dry moss—to act as a sleeping pad. Without this, your ability to stay warm drops significantly.
Where should I build my shelter?
Selecting the right location is often more important than the actual building process. You want to look for high ground to avoid pooling water, but you also need protection from the wind. Avoid the bottom of valleys where cold air settles (a phenomenon often called a cold sink) and stay clear of "widowmakers." A widowmaker is a dead branch or a leaning tree that could fall during a gust of wind. Even if the weather looks calm, a sudden storm can change the structural integrity of a nearby tree. Look for a spot that offers some natural windbreak, like a large rock or a dense thicket, but ensure you aren't blocking a natural drainage path.
Once you have a site, you need to find a ridge pole. This is a long, sturdy branch that will act as the spine of your shelter. It should be at least 6 to 8 feet long. One end of this pole will rest on a sturdy stump, a low-hanging branch, or a tripod of sticks, while the other end rests on the ground. This creates a triangular shape—the basic frame of your shelter. Make sure your ridge pole is strong enough to support the weight of the debris you'll be piling on top of it.
How do I build the frame and walls?
With the ridge pole in place, you'll begin leaning smaller branches against it at an angle. Think of this like building a ribcage. You want to place these sticks close together so that the structure is dense. This frame is the skeleton of your home. If your ribs are too far apart, your insulation will fall through the gaps. Once your frame is stable, you can start adding the "skin." This is where the debris comes in. You'll want to pile leaves, bark, or pine needles against the frame. The thicker the debris, the better the insulation.
A common mistake is making the walls too thin. A single layer of leaves won't do much against a heavy rain or a cold night. Aim for a thickness of at least two feet of debris on all sides and the roof. This creates a buffer that prevents wind and moisture from reaching your inner space. If you're in a coniferous forest, bark can be a great way to create a waterproof outer layer, but remember to only take what is already fallen or use non-living material to respect the ecosystem. You can learn more about forest health and wood types via the U.S. Forest Service website to ensure you aren't damaging living trees.
What can I use for insulation?
Insulation is your best friend in the wild. If you're in a deciduous forest, dried leaves are your best bet. In a pine forest, a thick layer of dry needles works wonders. The key is to ensure the material is as dry as possible before you start piling it on. If the leaves are soaking wet, they can actually pull heat away from you. You might also use a layer of bark or even large pieces of fallen wood to create a more solid roof structure before adding the softer debris. This helps shed water more effectively.
| Material Type | Best Use | Pros/Cons |
|---|---|---|
| Dry Leaves | Main Insulation | Widely available, but can get damp |
| Pine Needles | Roofing/Bedding | Excellent for shedding water, very soft |
| Bark Sheets | Outer Shell | Great for waterproofing, harder to find |
| Ferns/Moss | Ground Layer | Excellent moisture barrier, can be hard to find |
The inner space of your shelter should be just large enough for your body to fit comfortably. If the space is too big, there's too much air to heat up with your body warmth. If it's too small, you won't be able to move or change positions. You want a snug fit that feels like a cocoon. Before you actually lie down, ensure the interior is packed with enough material to keep your body off the ground. This is the most important part of the build. A thick bed of pine needles or a thick layer of leaves can make the difference between a miserable night and a restful one.
Remember that building a shelter is a physical task. It takes time and energy. If you're building this for a real survival situation, you'll already be tired and potentially hungry. It's a good idea to practice this in your backyard or a local park before you ever head into the deep woods. Understanding how the materials behave—how much they weigh, how they shed water, and how they settle—will make you much more prepared when it actually counts. For more information on wilderness safety and preparation, checking out resources like the National Park Service is always a smart move.